Practical Basketball Build Helper — Attribute Allocation
Plan point guard, shooting guard, and small forward builds before you spend points in the stress-test creator.
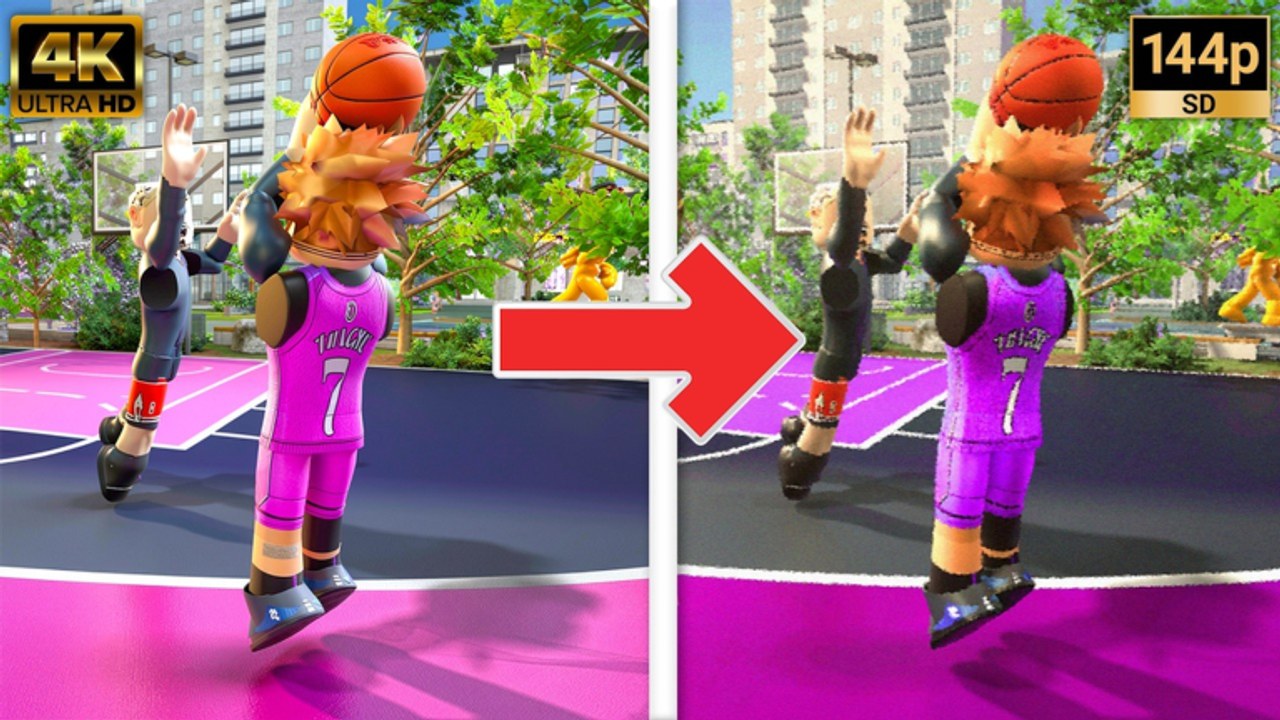
The Practical Basketball build creator is one of the biggest upgrades in recent stress-test builds. You pick position, height, anomalies, and attribute spreads before stepping into park runs. Because the game is still in early access, caps and badge gates can shift — treat the numbers below as a planning framework, then confirm thresholds in-game or via community notes on Stress Test Notes.
Good stress-test builds do not max one stat to 99. They hit badge breakpoints in finishing, shooting, playmaking, and defense, then pick a takeover that matches how you actually play. Use this helper alongside Takeovers and Badges and keep Controls Cheat Sheet open while you test dribble and post inputs on your new character.
Core allocation principles
Before you touch position tables, apply these rules every Practical Basketball tester learns the hard way:
- Badge gates beat vanity ratings. A 91 three-pointer means nothing if you never unlock the shooting badges that widen your green window.
- Defense is not optional in park. Even guards need enough perimeter defense and steal rating to survive switches during stress-test matchmaking.
- Physicals stabilize animations. Strength and vertical affect contact dunks, blow-bys, and how often you bounce off rim protectors.
- Takeover synergy is endgame. Smooth Operator rewards slashers who already invest in ball handling and layup packages; Knockdown Shooter punishes help defense when your catch-and-shoot badges are online.
- Anomalies are spice, not a crutch. New creator anomalies can bump tendencies, but they do not replace learning timing on hold E shooting.
Point guard (PG) — floor general template
Point guards initiate pick-and-roll, call for screens, and punish overplays with first-step speed. In current tests, PG builds skew shorter with high ball handling and pass accuracy.
| Attribute bucket | Target range (stress test) | Why it matters |
|---|---|---|
| Ball handling | 85–92 | Unlocks advanced dribble chains on Z/C/X/V without frequent plucks |
| Pass accuracy | 80–88 | Stable chest and bounce passes on 1–4 keys with Shift modifiers |
| Speed with ball | 82–90 | Separates from lockdown wings on first step |
| Three-point shot | 78–86 | Keeps defenders honest; pair with Knockdown Shooter takeover |
| Perimeter defense | 72–80 | Survive switches until a lock tags in |
| Steal | 70–78 | Risk/reward on-ball reads without sacrificing body control |
PG badge priority checklist
- Playmaking: at least one quick-first-step or ankle-breaker tier for stress-test iso situations
- Shooting: catch-and-shoot or deadeye equivalent before cranking limitless range
- Defense: on-ball or pick-and-roll defense badge so you are not a liability
- Finishing: layup package for floaters when the big drops early
PG takeover pick
Smooth Operator fits drive-and-kick PGs who live in the paint after a hesi. Knockdown Shooter fits pace-and-space leads who green off screens. Read the full takeover list on Takeovers and Badges.
Shooting guard (SG) — off-ball scorer template
Shooting guards stress-test the shooting model more than any other role. You need routes off screens, quick release timing on hold E, and enough handle to punish closeouts.
| Attribute bucket | Target range (stress test) | Why it matters |
|---|---|---|
| Three-point shot | 86–93 | Primary win condition in early-access park games |
| Mid-range shot | 80–88 | Backup when defenders sprint-close at the arc |
| Off-ball movement speed | 80–88 | Flare, pin-down, and drift spacing |
| Ball handling | 75–82 | Handoff reads and short iso when mismatched |
| Perimeter defense | 74–82 | Contest without fouling on pump fakes |
| Free throw | 78–85 | Late-game stress tests punish missed freebies |
SG badge priority checklist
- Shooting: catch-and-shoot first, then range extension badges once consistency is stable
- Finishing: at least one contact layup tier for cut finishes
- Defense: chase-down or contest badge for transition stops
- Playmaking: one pass accuracy gate for swing passes off movement
SG takeover pick
Knockdown Shooter is the default for spot-up SGs. If you run secondary ball-handling, test Smooth Operator in free practice before committing — takeover activation depends on how you earn momentum in park runs.
Small forward (SF) — slasher / glue template
Small forwards bridge guard spacing and big finishing. Most stress-test SF builds either slash (Smooth Operator) or spot-up corner (Knockdown Shooter) with enough defense to switch.
| Attribute bucket | Target range (stress test) | Why it matters |
|---|---|---|
| Driving dunk | 84–92 | Momentum dunks with Shift + Space require vertical and dunk rating |
| Layup | 82–90 | Jelly and gather finishes when help rotates late |
| Ball handling | 78–86 | Middle pick-and-roll and handoff actions |
| Three-point shot | 75–84 | Corner spacing when the defense collapses on drives |
| Interior defense | 70–78 | Switch onto stretch bigs during test matchmaking |
| Strength | 72–80 | Absorb contact on drives without losing gather |
SF badge priority checklist
- Finishing: poster or contact finisher before flashy packages
- Shooting: corner specialist badge if you spot up more than you slash
- Defense: clamp or interceptor tier for switch-heavy park meta
- Playmaking: bailout pass badge when you draw two defenders
SF takeover pick
Smooth Operator rewards slashers who already invested in handle and finish. Hybrid SFs who shoot 40% of possessions from the corner should lean Knockdown Shooter instead.
Pre-run build checklist
Run through this list before you queue into a stress-test park session:
- Height and wingspan match your role — taller SGs shoot slower; shorter SFs get blocked more at the rim.
- Anomalies selected and understood (read Stress Test Notes for new anomaly slots).
- Badge gates met in at least three categories — finishing, shooting, playmaking, defense.
- Takeover chosen and tested in free shootaround.
- Controls Cheat Sheet reviewed for any new dribble or post bindings.
- Squad notified via Community Links Discord so everyone runs compatible roles.
Common early-access mistakes
Maxing three-point only. You will not green consistently without release practice and supporting badges.
Ignoring pass accuracy on wings. Swing passes and bounce passes on double-tap 1–4 keys fail when pass rating is too low.
Skipping post practice because you are a guard. Stress-test lobbies still post up mismatches — know basic G post hooks so you are not stuck.
Rerolling height before rerolling badges. Height changes animations; fix badge breakpoints first, then tweak physicals.
After you build
Take your character into free practice: test hesi pull (Shift + tap E), one dribble chain per hand, and a contact dunk line. Then run three park games and note where you lose possessions — pass, shot timing, or defense. Adjust one attribute bucket at a time; wholesale rebuilds waste stress-test windows.
For archetype framing beyond PG/SG/SF, visit Players Hub. For patch-specific builder UI changes, read Updates Hub. This helper stays English-only until localized copies ship with full translation depth.
Frequently Asked Questions
Quick answers players ask before every park session.
What is the best height for a stress-test point guard?
Most testers sit between 6'0" and 6'3" for speed and handle, but animation speed matters more than a single meta height. Test two builds in free practice before you commit.
Should I prioritize Smooth Operator or Knockdown Shooter?
Choose Smooth Operator if most of your value comes from drives and layups. Choose Knockdown Shooter if you win games off catch-and-shoot spacing. See the full breakdown on Takeovers and Badges.
Do badge thresholds change between stress tests?
They can. Developer patches during early access retune badge requirements. Cross-check Stress Test Notes after each new park opening.
Where can I test a build without queueing park?
Recent stress-test builds include a practice/shootaround flow from the creator screen. Use it to validate dribble keys and shot timing before going online.