Practical Basketball Builds Hub
Tier rankings and loadout guides for early-access and stress-test windows.
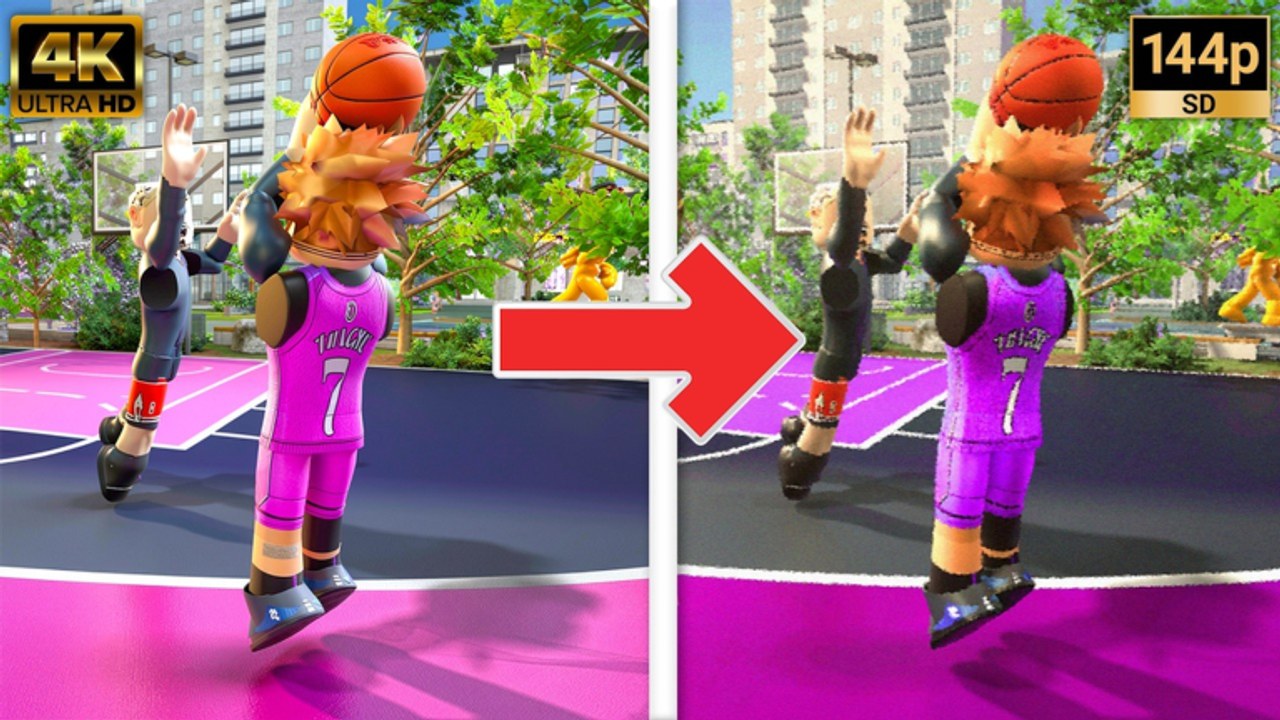
Practical Basketball treats player creation like a serious sports sim, not a casual arcade button masher. Height, wingspan, weight, and body type shift your attribute caps, which in turn unlock or lock badge tiers for finishing, shooting, playmaking, and defense. During stress-test and early-access windows, that system is still being tuned — but the community has already identified strong patterns for park and public gym play.
This Builds Hub is your starting point for meta loadouts. We rank archetypes by how reliably they win pickup games without requiring unreleased content or exploit stats, and we link deep dives for the most searched roles: pure scoring wings, versatile two-way forwards, and interior bigs who anchor the paint.
How we tier builds (stress-test criteria)
Rankings reflect current test meta, not a hypothetical full-release balance patch. We score each archetype on:
| Factor | Why it matters |
|---|---|
| Scoring consistency | Open three-point windows, dunk lanes, and stamina to green shots under pressure |
| Defensive impact | Height matchups, perimeter clamps, interior contests, intimidator value |
| Badge efficiency | Hall of Fame or high-tier badges without starving other categories |
| Physicals | Strength, lateral speed, and wingspan for boxing out and holding dribblers |
| Stress-test viability | Performs when servers are sweaty and anti-cheat is active — no script reliance |
S-tier builds dominate most matchups with minimal matchup panic. A-tier builds win with correct spacing and IQ. B-tier builds are fun but require teammates or favorable matchups. We avoid F-tier novelty heights unless you are testing bugs for developers.
Quick tier snapshot (early access)
These labels summarize community results during recent stress tests. Revisit after major patches listed on Updates Hub.
ST3 meta snapshot
For Stress Test 3 squad templates — 2-Way Post-Up Contributor / Diesel 7’2, Walking Bucket 6’9, Downhill do-it-all, Curry spacers, floor generals, Knockdown shooters, Crafty Offensive General Shooting Guard Builds, lockdown stoppers on Lockdown Builds, and iso demigods — read ST3 Meta Builds.
S-tier — Scoring Freak slashing wings (6’8–6’10)
High driving dunk with strong perimeter defense creates a positional mismatch against smaller guards while still greening from deep when badges are set correctly. See the full badge layout in Scoring Builds.
S-tier — 6’9 two-way forward (Larry Bird-style stretch)
Elite shooting badges paired with silver defensive staples let one build guard multiple positions and punish switches. Details in Two-Way Builds.
A-tier — 6’6 shooting guard starter
Balanced three-point (~70–78), Hall of Fame shooting badges, guard speed, and enough interior defense (~60) to avoid being erased in the paint. Ideal first character if you are learning controls from Getting Started.
A-tier — 6’10 defensive anchor
Prioritizes interior defense, rebounding, strength, and post scoring badges. Lower three-point investment — wins through rim protection and bully-ball, weak against full floor spacing if teammates cannot shoot. Full screen, roll, and snagging guidance lives in Big Builds.
B-tier — Minimum-height dribble god
Flashy handles and ankle breakers, but taller meta builds with clamps and intimidator shut down iso-heavy plans unless you master stamina management and pick-and-roll reads.
C-tier — Max-height slow center (without shooting)
Dominates mismatched lobbies but gets hunted in pick-and-pop scenarios when Practical’s Physics V2 spacing opens up.
Core build rules every player should know
Height drives caps. Moving from 6’6 to 6’9 raises some attributes while lowering others. Do not copy a spreadsheet without checking your exact vitals screen.
Strength is underrated. It affects box-outs, blow-by resistance, and finishing through contact — not just post builds.
Do not chase 99 everywhere. Many top badges unlock at lower thresholds; overspending on one stat steals points from lateral quickness or stamina.
Interior defense scales with size. Sixty interior on a wing contests better than sixty on a sub-6’4 guard. Pair interior with strength.
Standing dunk is cheap value. Even non-bigs benefit from moderate standing dunk to punish lazy help defense.
Anomaly settings matter. Stress-test creators added anomaly-style boosts that skew specific attributes — powerful on scoring builds when used intentionally, wasted if you pick randomly.
Where to go next
- Need the full ST3 squad tier list? Read ST3 Meta Builds for Diesel, Walking Bucket, takeover map, and C-tier traps.
- Want maximum buckets and highlight dunks? Read Scoring Builds for the Scoring Freak layout, takeover notes, and anomaly tips.
- Want to lock up and still shoot? Read Two-Way Builds for the 6’9 forward badge priority list.
- Want to anchor the paint with boards and screens? Read Big Builds for interior defense, standing dunk, pick-and-roll, and pick-and-pop priorities.
- Need a primary playmaker for ST3 squads? Read Playmaker Builds for Thieving Floor-General templates, Smooth Operator takeover, and Diesel plus Knockdown squad fit.
- Want a scoring ISO point guard beside a Walking Bucket wing? Read ISO PG Builds for 6’2 Offensive Specialist templates, Smooth Operator habits, and Floor-General comparisons.
- Want a versatile 6’9 Downhill wing? Read Do-It-All Builds for rim help plus ~83 three and Curry Slide handle.
- Want Curry-style spacing? Read Curry Builds for elite three-point gravity and relocation habits.
- Want ST3 shooting-guard spacing? Read Shooting Guard Builds for Crafty Offensive General and Knockdown templates.
- Want perimeter clamps without bricking offense? Read Lockdown Builds for stopper layouts.
- Need a true ST3 center anchor? Read Center Builds for Diesel screens, boards, and interior defense priorities.
- Chasing iso demigod highlights? Read Demigod Builds for handle-heavy ST3 templates and stamina tradeoffs.
- Need controls and first-day setup? Start with Getting Started.
- Looking for free rewards? Check honest code status on Codes Hub — no fake active strings during tests.
- Anthony Edwards Builds — dunk-first slash-lock fantasy for Ant searchers
- ISO PG Builds — 6’2 Offensive Specialist / Scoring General with Smooth Operator
The site header shows up to eight build pages in the dropdown; use View all in Builds or return here for the full index when more templates are listed.
Meta disclaimer for stress tests
The site header lists up to eight builds per dropdown; with this many loadout pages, navigation may show View all in Builds — use that link or return here for the full index including ISO PG Builds.
Progress and attribute costs can reset or rebalance between Practical Basketball test windows. Treat every build here as strong for the current early-access slice, export screenshots of your vitals before a test ends, and report obvious exploits through the official community server rather than abusing them — the developers actively ban cheaters, and legitimate builds survive patches better than gimmick stat glitches.
Frequently Asked Questions
Quick answers players ask before every park session.
What is the best Practical Basketball build during stress tests?
Tall slashing wings with high driving dunk and strong perimeter defense — the Scoring Freak archetype — and versatile 6'9 two-way forwards currently sit at the top of community tier lists. Exact stats shift between tests, so follow the linked sub-guides for badge layouts.
Does height matter more than badges?
Height sets your attribute caps, which determine badge eligibility. Badges amplify the stats you can afford. A mid-height guard with great badges can win, but the early-access meta favors 6'6–6'10 builds that combine size with guard-like speed.
Should beginners copy endgame builds?
New players should start with a balanced 6'6 shooting guard before investing in expensive anomaly layouts. Learn timing, stamina, and defensive positioning from Getting Started, then graduate to Scoring or Two-Way templates.
Will these builds work after full release?
Attribute tuning is expected before full launch. Core principles — strength value, interior defense by size, badge efficiency — should remain, but specific numbers may change. Re-check this hub after major updates.
Where do I find player comparisons and roster talk?
Builds focus on your MyPlayer-style creator. For community player discussions and comparisons, browse the Players section and pair it with guide content on park etiquette and matchmaking during stress tests.
Are big builds viable in stress-test park?
Yes. Interior anchors with block, rebound, strength, and standing dunk stabilize lobbies when paired with spacing teammates. See Big Builds for badge order, screens, and comparisons to scoring and two-way wings.